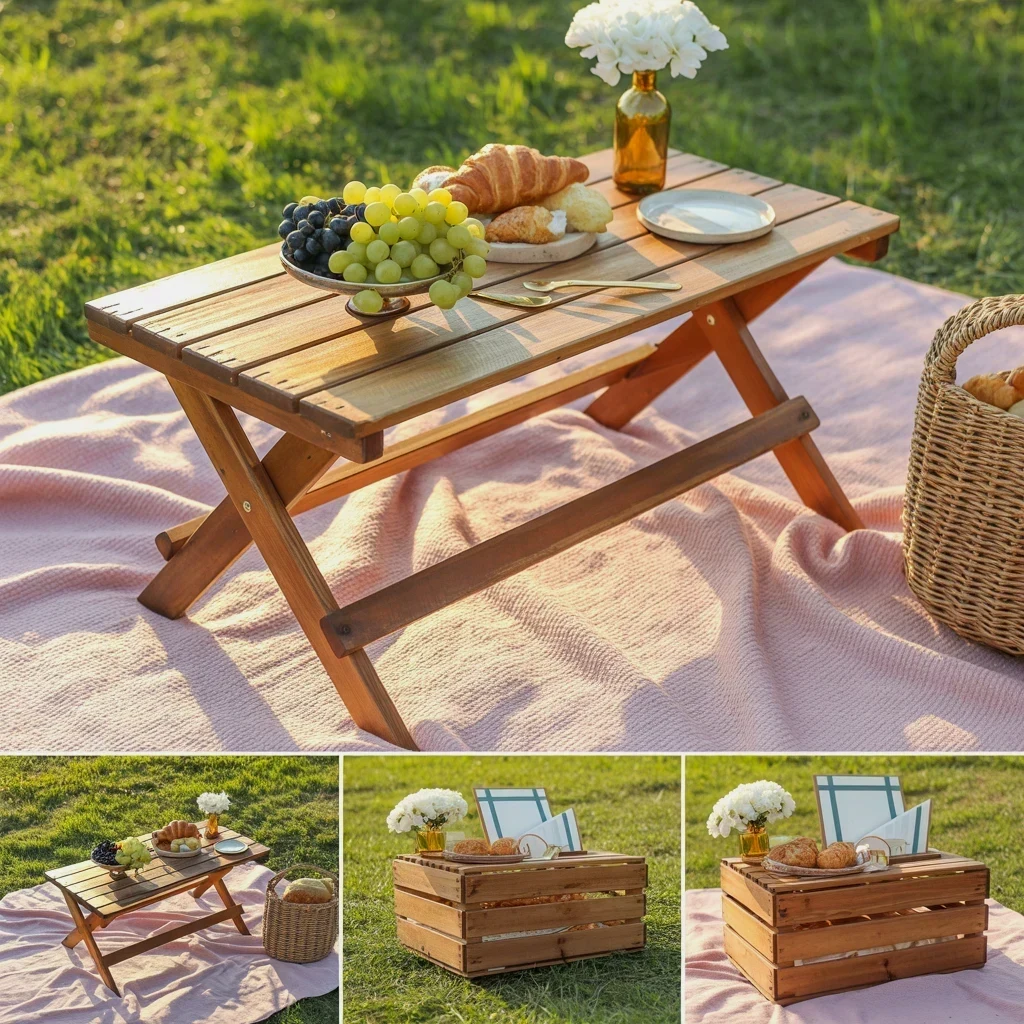
It’s officially the season where a flannel blanket and a hot drink can fix almost anything. And honestly, nothing says fall like a living room full of warm wood tones, even if that wood used to be a shipping pallet or a curbside dresser. I’ve scrolled through thousands of upcycled projects over the years, and I’ve also ruined a fair amount of good lumber learning the hard way. So, instead of just giving you a list, let’s talk about the 45 RecycledFurniture ideas that actually work, and the specific mistakes that will ruin your weekend if you don’t see them coming.
Look, the biggest reason DIY upcycled projects fail isn’t a lack of talent. It’s planning. You see a gorgeous photo on Pinterest, you grab a rusty hammer, and three hours later you’re staring at a splintered mess, wondering where you went wrong. The good news? Most of these disasters are totally avoidable. This guide is my honest breakdown of the biggest upcycling mistakes I see, paired with the projects that fix them. We’re going to get your hands dirty, but we’re going to do it smart.
Mistake #1: Ignoring the “Toxicity” of Your Wood Source
That free pallet behind the grocery store? It might be soaked in pesticides or spilled chemicals. It’s a massive risk that most beginner guides skip over, and it’s the number one reason I refuse to use random curb wood for indoor food displays. For your fall pumpkin stands and rustic serving trays, you need to source clean, heat-treated lumber. Look for the “HT” stamp on pallets; that means it’s safe. Avoid anything with “MB” stamped on it, as that indicates a banned chemical treatment.
Instead of gambling, stick to projects that use solid wood pieces that are easy to sanitize and sand. An old solid oak table leg turned into a candle holder is a great start. Or, take a broken headboard and turn it into a farmhouse-style coat rack for the entryway. These pieces don’t hold food, so they are forgiving, but you still need to wash and seal them properly to avoid bringing pests into your home.
Mistake #2: Not Prepping the Surface (The Sanding Trap)
Ok, I know sanding is boring. It’s dusty, it’s loud, and it hurts your hands. But here’s the thing: if you skip the 80-grit sanding pass on that old dresser, your new paint is going to peel off by Thanksgiving. You absolutely cannot just slap a coat of chalk paint over a glossy, sealed surface and expect it to last. You need to break the glaze, remove the old varnish, and rough up that surface to give the new finish something to bite into.
It’s also a huge mistake to skip sanding *between* coats of paint. I know it seems like a waste of time, but a quick pass with fine sandpaper knocks down the fuzz and makes your finished piece feel like actual furniture, not a craft project. I spent a whole weekend once turning an old vanity into a bar cart, and the finish looked awful until I went back, sanded it all down, and started over. It took twice as long, but the smooth texture on those drawer fronts was finally worth it.
Mistake #3: Thinking Every Piece Needs to Look “Rustic”
Just because you’re using recycled wood doesn’t mean it has to look like a barn fell on it. That’s a common misconception, and it leads to a lot of boring, brown projects. Fall decor doesn’t have to be all burlap and rusty nails. You can paint that old furniture in moody, modern tones like deep hunter green or matte black to make the wood grain pop. This is where WoodProjectIdeas get really interesting; take a plain pallet and turn it into a sleek, modern coffee table with a glass top.
Here’s a specific fix: if you have an old bookshelf that’s structurally sound but ugly, skip the stain. Paint the back panel a deep terracotta or mustard yellow. Leave the shelves natural wood. This contrast is a massive trend right now, and it feels sophisticated, not kitschy. One of my favorite projects from last year involved a standard side table that I painted in a glossy eggplant color. It’s not rustic at all, but the rich color is so autumn, and it works perfectly next to my velvet sofa.
Mistake #4: Using the Wrong Tools for Disassembly
You’re going to break something valuable if you attack a solid wood dresser with a crowbar and a hammer. I’ve seen people split beautiful dovetail joints because they didn’t take the time to figure out how the piece was built. Before you yank anything apart, check for hidden screws, nails, and glue joints. Do yourself a favor and invest in a cheap oscillating multi-tool. It saves you from wrecking the wood and keeps you from losing a finger when you slip.
If you’re building a sofa sleeve tray table from an old cutting board, you don’t need power tools at all. But for bigger stuff like turning a pallet into a backyard couch, you absolutely need a proper reciprocating saw. Don’t use the “brute force” method. It’s aggressive, it’s noisy, and it usually ends with a cracked workpiece. Reclaimed wood splits along the grain very easily if you hit it wrong.
Mistake #5: Skipping the “Seasonal Storage” Strategy
You’re not just building decor, you’re building stuff you have to store in July. That’s the real test of a good project. It’s a massive pain to store a giant wooden reindeer or a massive pumpkin stand that doesn’t collapse. Before you commit to a plan, ask yourself where this thing is going to live for the other ten months of the year. I have a giant wooden “Happy Fall” sign that is beautiful, but I have nowhere to put it, so it bounces around my garage and takes up precious space.
Instead, focus on FallDecorDIY ideas that are flat or functional year-round. Build a coffee table with a hidden compartment for throws. Make a decorative ladder that holds blankets in the winter and serves as a plant stand in the summer. That way, you aren’t killing yourself in October to build stuff that becomes a nuisance in April. If you want to do a specific seasonal piece, make it a wreath or a table centerpiece that can be easily disassembled and flat-packed.
Mistake #6: Forgetting to Reinforce the Structure
Old furniture was built to last, but that doesn’t mean it isn’t wobbly. I found a gorgeous mid-century nightstand on the curb, and it looked perfect. But the second I put a mug of coffee on it, the whole top shifted an inch. The joints were loose, and I didn’t bother to tighten them before painting. Now I have to re-do the whole thing, which is the worst sentence in the English language.
So, before you start painting, check every joint. Wood glue is your best friend here. Squeeze it into the loose joints, clamp it tight, and let it dry for a full 24 hours. Don’t rush this step. If it’s a chair or a table, consider adding corner brackets to the underside. Nobody will see them, but they will save you from a collapsed laptop stand during a Zoom meeting. Use polyurethane glue or a strong wood epoxy for the best results. It’s the difference between a costume and a piece of actual furniture.
Overall, creating a cozy fall home is about working with what you have and making it better. Don’t be afraid to fix something that seems broken.
Here is a quick list of my favorite project types that will fix those mistakes:
– **Wine Crate Shelves:** Perfect for spices and small mason jars in the kitchen.
– **Ladder Blanket Racks:** Lean an old ladder and hang quilts on the rungs for instant warmth.
– **Drawer Herb Gardens:** Plant herbs in the removed drawers of an old dresser.
– **Door Headboards:** Use a solid old door as a massive, rustic headboard.
– **Spool Cable Coffee Tables:** Those giant wooden spools need a light sand and a glass top, done.
Remember, the goal is to make something you love, not something that looks “perfect.” You are allowed to make mistakes. Just try to make them small ones. Grab a hot apple cider, put on some music, and give that curbside dresser a second chance.
So, which of these UpcycledWood projects are you going to tackle first? I’d love to hear what you’re working on, or if you have a classic recycling trick I missed. Drop a comment below and let me know!