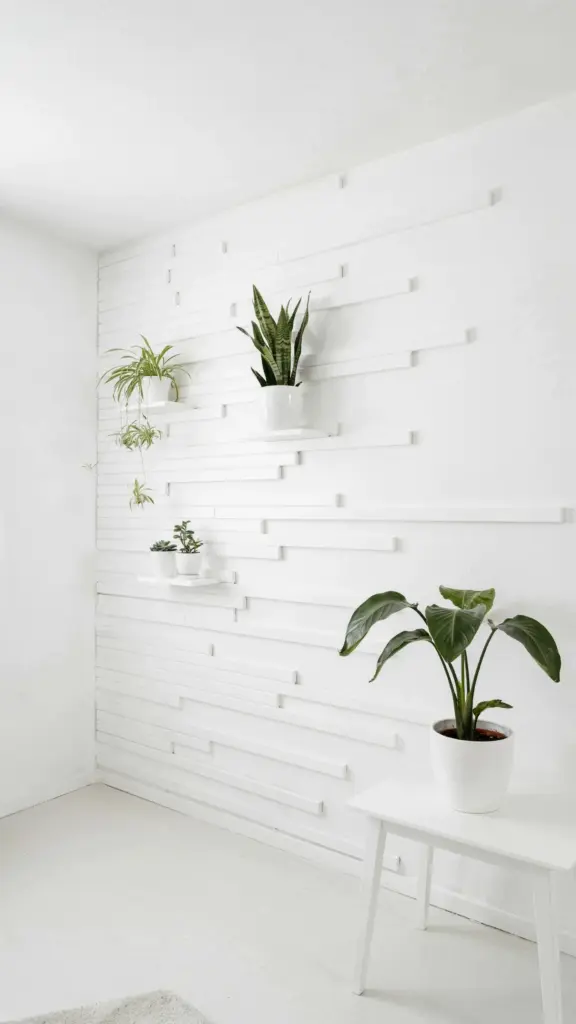
How to Avoid the Most Common Mistakes When Building a Wood Accent Wall
I remember staring at my first wood accent wall, feeling proud for about five minutes. Then I noticed the gaps. Tiny, uneven gaps between the trim pieces and the wall that made the whole thing look slapped together. I had bought a set of DIY wall plans with blueprints and a cutting list, so I thought I had it all figured out. But I still made rookie errors. If you are ready to tackle a modern trim wall and want to skip the headache, let me walk you through the mistakes I made and how you can avoid them. These are the little things that separate a professional-looking feature wall from a weekend regret.
Mistake #1: Forgetting to Level the Wall Before You Start Your Accent Wall Design
I know, I know. The blueprints look perfect on paper. But walls are never perfectly flat or square. Your wood accent wall will only look straight if the wall underneath is reasonably plumb. If you just slap trim over a bumpy wall, you will fight gaps and uneven reveals the whole time.
Before you cut a single board, run a long level or a straightedge across your wall. Mark any high spots or low dips. For small imperfections, you can use a little joint compound to flatten things out. For bigger problems, you might need to shim your base trim or fur out a low section. Take the extra hour here. It saves you from caulking massive gaps later.
Mistake #2: Guessing Your Layout Instead of Following the Blueprints
I once tried to “eyeball” the spacing between vertical strips because I thought the cutting list looked too mathematical. Big mistake. My modern trim wall ended up looking crowded on one side and sparse on the other. If you paid for custom trim wall plans, trust them. The blueprint gives you exact spacing so the proportions work with your room.
Use a chalk line and measure from the center of the wall outward. Mark every vertical stud location too. You will thank yourself when you are nailing into solid wood instead of drywall anchors. A good set of DIY wall plans will include a layout diagram. Follow it line by line. Your eyes cannot guess geometry as well as a calculator can.
Mistake #3: Choosing Trim That Looks Good in the Store But Terrible on the Wall
I almost bought fancy crown molding for my accent wall design. It was cheap from a discount bin and had deep grooves. I thought it would add character. It looked like a stack of shoelaces when installed. The trick with a wood accent wall is to keep the profile clean and modern. Simple flat stock or simple primed finger-joint trim works best.
Stick with boards that have a smooth face and crisp edges. MDF is fine for dry areas and paints beautifully, but it swells if it gets wet. Pine is forgiving and affordable. If you want a warm stained look, go with poplar or maple. Whatever you choose, buy a little extra. Accidents happen, and having matching material saves a trip to the store mid-project.
Mistake #4: Not Prepping the Wood Before You Install
I painted my trim after nailing it into place. That was a nightmare. Paint got between the boards and the wall, and I missed spots behind the wood because I couldn’t reach. Now I always prime and paint each piece before attaching it to the wall. It takes more time upfront, but the finish is smooth and clean.
- Sand every piece lightly to remove rough edges.
- Prime both sides of the trim (the back too, to prevent warping).
- Paint the front and edges with your final color before installation.
- Touch up the nail holes after nailing, then do one final coat over the whole wall.
That last coat hides any tiny dings and unifies the sheen. This is the number one thing that makes your modern trim wall look like an expensive built-in.
Mistake #5: Ignoring the Cutting List and Overcutting Your Pieces
The cutting list in your DIY wall plans is your best friend. But I used to think I could save time by cutting all the horizontal pieces at the same length. Then my wall was slightly narrower than the plan assumed, and I had to recut everything. Measure your actual wall dimensions. The blueprint is a guide, not a guarantee that your walls match the example exactly.
Cut one piece, dry-fit it, then cut the rest. Mark each piece with a pencil label (like “top horizontal left” or “vertical 3”). It sounds tedious, but it prevents confusion when you have twenty identical-looking boards. And always use a miter saw with a fine-tooth blade. A rough cut will leave splintered edges that ruin a clean modern trim wall look.
Mistake #6: Forgetting About Outlets, Switches, and Baseboards
Halfway through your accent wall design, you will realize an electrical outlet sits right where a vertical strip needs to go. Do not panic. Cut the trim to fit around the box, and use an outlet extender so the plate sits flush with the new depth of the wall. I learned to trace the outlet box onto my board, then cut a notch with a jigsaw.
Also, remove your existing baseboards before you start. It is easier to install the grid pattern directly against the drywall and then add new baseboard on top of the trim edges. That way you avoid ugly gaps between the old baseboard and the new wood. Plan for outlets and baseboards in your measurements, not as an afterthought.
Mistake #7: Rushing the Final Caulking and Sanding
I tried to skip sanding between paint coats because I wanted to finish in one weekend. The final surface looked like orange peel. A wood accent wall needs crisp lines. After you nail everything, caulk every joint where trim meets wall and where trim pieces meet each other. Use a paintable caulk and smooth it with a damp finger.
Once the caulk dries, lightly sand the whole wall with fine grit paper to remove fuzz and bumps. Wipe away dust, then apply your final coat of paint. That step alone transforms a good wall into a great one. Do not rush the finish. It is the last 10% of effort that gives you 90% of the wow factor.
Start Your Project with Better Plans and Fewer Headaches
I still use the same set of blueprints from my first accent wall, but now I know how to adjust for real walls and real tools. If you want a clean, modern trim wall that looks like a designer did it, take the time to prepare your surface, trust the cutting list, and never skip the primer. Grab a quality set of DIY wall plans, measure twice, and remember: you are building something that will make your room feel finished for years. Ready to get started? You can find a complete wood accent wall plan with full blueprints and a cutting list right here. Happy building.
#WoodAccentWall #ModernTrimWall #DIYWallPlans #AccentWallDesign #CustomTrimWall