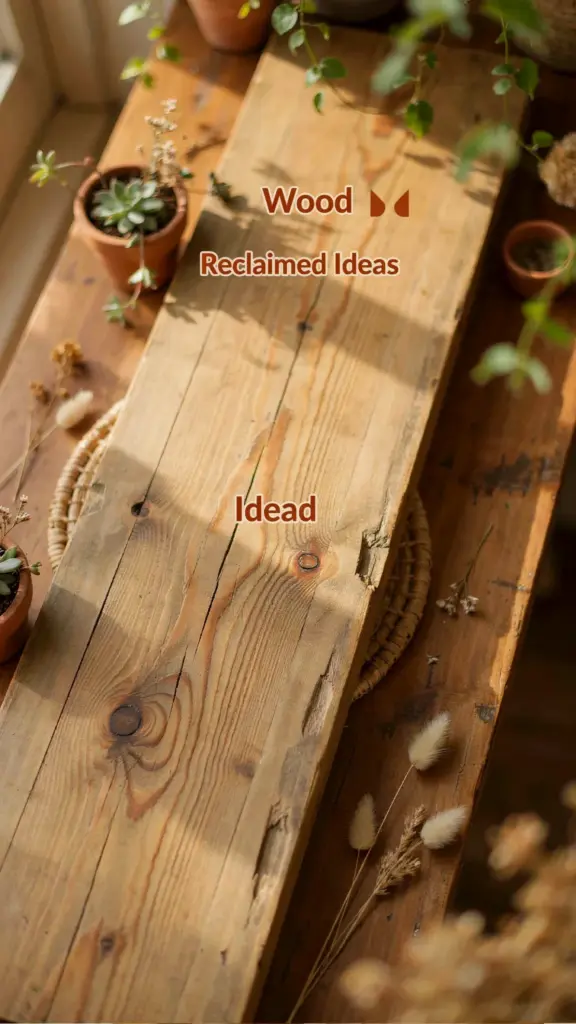
If you are looking for a quick, cheap wall refresh that actually looks like you put in effort, these little rustic shelves are exactly what you need. I made a set last weekend using a scrap piece of reclaimed pine, some jute rope from the dollar store, and a small can of Briwax. The whole project cost less than ten dollars, and now I have a cheerful spring plant display right by my kitchen window. The best part? You don’t need any fancy tools or woodworking skills to pull this off. Just a saw, a drill, and about twenty minutes of your time.
Why Reclaimed Wood and Jute Rope Are a Perfect Match
I have tried plenty of trendy shelving materials over the years, but nothing feels as honest as reclaimed wood paired with natural jute. The rough grain of old wood gives each shelf a unique character, while the jute rope adds a soft, textured contrast that fits any room from a farmhouse kitchen to a modern apartment. Reclaimed wood is also incredibly affordable. You can often find free pallets behind stores or buy a small piece from a local lumberyard for just a few dollars. Jute rope is even cheaper, usually around three dollars for a roll that will make several shelves. Together they create a look that says “I made this myself” without screaming “craft fail.”
How to Make These Shelves Without Breaking Your Budget
Here is the honest truth: you do not need a workshop full of equipment. For this project I used a handsaw, a power drill with a small bit, sandpaper, and a measuring tape. That is it. Start by cutting your reclaimed wood into pieces about eight inches long by four inches wide. Any size works, but keep them small if you are hanging tiny plants. Sand the edges until they are smooth enough that you will not get splinters when you water your succulents. Drill two holes near the back of each shelf, about an inch from each side and half an inch from the top edge. Thread your jute rope through the holes, tie a knot underneath to hold the shelf, and then knot the rope above the shelf at the desired height. Leave a loop at the top for hanging on a nail or hook. If you want a step by step breakdown with exact measurements, there are plenty of free tutorials online, but honestly, you can figure it out by trial and error in under thirty minutes.
- Wood source: Check Facebook Marketplace or your local habitat restore. I paid two dollars for a piece of old fence board.
- Jute rope: Dollar store rope works fine, but the thicker kind from a hardware store holds weight better.
- Finishing: You can skip the wax if you want, but it protects the wood from water marks and gives a warm glow.
- Hanging: Use a stud finder or toggle bolts for heavy plants. For tiny succulents, a simple picture hook is enough.
Choosing the Best Plants for Your Spring Plant Display
Not every plant is a good candidate for a small hanging shelf. I learned that the hard way when I put a thirsty fern up there and had to water it every single day. Stick with succulents, air plants, or small trailing varieties like string of pearls or pothos. Succulents need very little water and tolerate the occasional dry spell, which is perfect if you forget to water for a few days. Trailing plants look especially nice because the vines hang down over the edge of the shelf, softening the straight lines of the wood. For a spring touch, I added a small pot of violas from the grocery store. They only cost two dollars and added a pop of purple that made the whole wall feel alive. If you want something low maintenance, go with a snake plant cutting or a small ZZ plant. Both can handle low light and irregular watering.
Where to Hang Your Small Space Decor Shelves
Because these shelves are so small, they work in spots where a full bookcase would look ridiculous. I hung two of them side by side above my coffee maker in the kitchen. Another one went into the narrow wall gap next to my bathroom mirror. You can also group three or four shelves in a staggered pattern to create a vertical garden effect without taking up floor space. In a small apartment, every vertical inch counts. These shelves are ideal for renters too because they only require one small nail each. Patch the hole when you move out and your deposit is safe. I have also seen people hang them in a hallway, above a desk, or even in a window frame for a sunny reading nook. The key is to keep them out of high traffic areas where they might get bumped. Jute rope is strong, but it is not indestructible.
The Finishing Touch: Briwax and Other Affordable Options
I used Briwax in Tudor oak for my shelves because I wanted that warm, brownish tone that looks like antique furniture. A small tin costs around twelve dollars, but one tin will finish dozens of projects. If you do not want to spend the money, you can use a mix of vinegar and steel wool to darken the wood naturally. Or just leave the reclaimed wood bare. The gray weathered look is popular and costs nothing. I applied the wax with an old rag, buffed it after fifteen minutes, and the wood felt smooth and slightly polished. It also sealed the surface so water rings from my plant pots would not stain the wood. If you are using a piece of wood that still has rough patches, sand it thoroughly before waxing. Otherwise the wax will just sit on top of the roughness and look patchy.
A Few Real Tips from My First Attempt
My very first shelf looked great until I actually hung it. I had not measured the rope lengths evenly, so the shelf tilted to the left and my little succulent slid right off. Now I tie a temporary knot, hang the shelf, adjust the level by sliding the knot, and only then do I tighten the knot for good. Also, do not overtighten the knots. Jute rope can stretch slightly over time, and a knot that is too tight will create a weak point. Leave a little slack. Another thing I learned: if you are hanging a plant that needs drainage, put a small saucer under the pot. Water will drip out eventually, and jute rope that stays wet will rot within a few months. Oh, and use a level. I know it sounds obvious, but tilted shelves drive me crazy.
These little rustic shelves are one of those rare DIY projects that actually look better in real life than they do in the Pinterest photo. They are cheap, fast, and forgiving. If you mess up, you are only out a few dollars and half an hour. So grab some scrap wood, a roll of jute rope, and a couple of tiny plants, then give your wall a spring refresh that costs almost nothing. I promise you will smile every time you walk past. Save this idea for your next weekend project, and do not be afraid to hang them in places you never thought of.
#RusticHangingShelves #ReclaimedWoodDecor #SpringPlantDisplay #JuteRopeShelves #SmallSpaceDecor