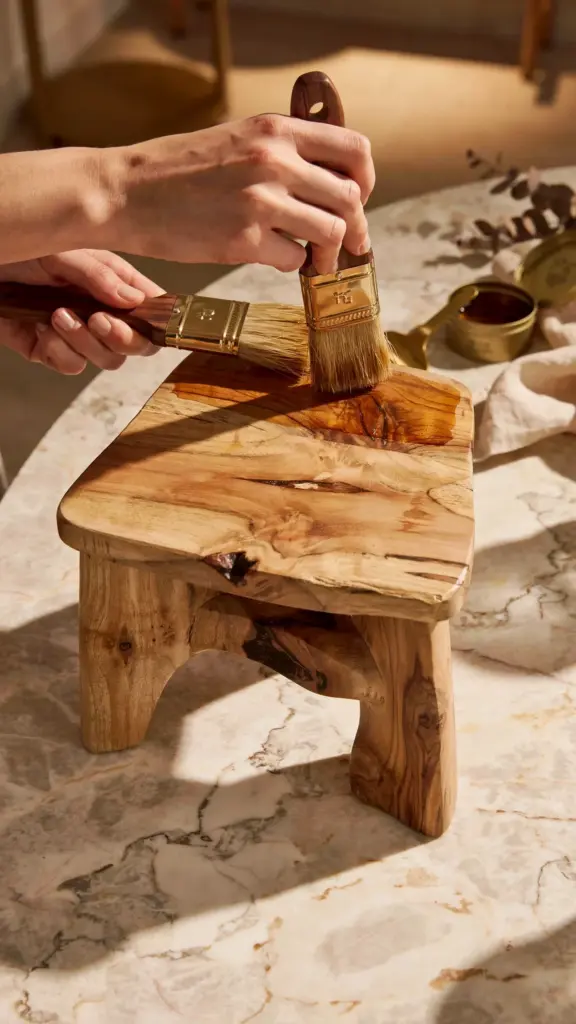
One afternoon, a pile of scrap pallet wood, and a little patience turned into this cute reclaimed wood plant stand that now sits by my window. Honestly, I wasn’t sure we’d finish it before dinner. But three hours later, with sawdust on my jeans and a half-empty coffee mug, there it was: a simple, sturdy little shelf for my snake plant. And the best part? It cost almost nothing. We used leftover pallet wood, basic tools, and a whole lot of stubbornness. If you’ve been wanting to try a small woodworking project but worry about cost or skill level, this one’s for you. I’ll even give you free plans at the end, just ask.
Why Reclaimed Wood is Perfect for Budget DIY Projects
Look, I love a fancy lumber store as much as anyone. But my wallet doesn’t always agree with my Pinterest board. So I started collecting pallet wood from a local hardware store’s recycling pile. They practically give it away. And the wood? It has character. Dents, nail holes, weather stains, all of it adds a story that brand-new boards just can’t match. Plus, using reclaimed wood means you skip the high price tag. A plant stand made from new cedar might cost thirty bucks in materials alone. Ours cost maybe two dollars for screws and wood glue. That’s it.
Not gonna lie, you do have to pick through the pallets carefully. Some are splintery or warped. But honestly, that’s part of the fun. You learn to spot good wood grain, you figure out which boards are sturdy. It’s a little like thrift shopping, but with power tools.
Tools You Already Own (No Expensive Gear Needed)
We didn’t buy anything special for this project. Here’s the thing: you probably have most of this already in your garage or basement:
- A circular saw or even a hand saw if you’re feeling old-school
- A drill with a few basic bits
- Sandpaper (I used a leftover sheet from a drawer, grit 80 and then 120)
- A tape measure and a square (or just a ruler and a steady eye)
- Wood glue and a handful of screws, 1.25 inch deck screws work fine
That’s literally it. Oh, and a hammer to pry nails out of the pallet boards. That part is oddly satisfying. Make sure you have safety glasses too, especially when pulling old nails. One flew right past my cheek once, never again.
Step by Step: Building Your Plant Stand in One Afternoon
We started by choosing four decent pallet boards, about the same thickness. One board was slightly darker, I actually liked that contrast. We cut two pieces to 24 inches for the legs, and two to 12 inches for the cross supports. The top platform was one solid piece cut to 16 inches long and 7 inches wide. I know those numbers seem random, but they fit a standard small nursery pot perfectly. Anyway, here’s the simple process:
First, sand everything down. This is not the fun part, but do it well or you’ll get splinters when you move the stand. We sanded by hand, one of those small sanding blocks you can get for a few dollars. Took maybe twenty minutes. Then we glued and screwed the cross supports between the legs, forming an H shape. Wait for the glue to set, about 20 minutes. During that time I cleaned up the workspace and found a forgotten 5 cent piece under a pile of sawdust, no joke. Then we attached the top platform on top of the H frame. Quick, solid, done. Total active time maybe two hours. Another hour for glue drying, but we were watching a movie anyway.
Simple Design Variations for Different Plants
This basic design works for a small snake plant or a pothos. But what if your plant is taller? No problem. Just make the legs longer, maybe 30 inches. Or what if you have a trailing plant? Add a second shelf halfway down. We actually tried that later with a leftover scrap piece. It’s not perfectly level, but it adds character, right? The point is, you can tweak this without any fancy joinery. Just add another cross board and some screws. I also saw someone drill a small hole in the top to hide a watering drip tray, clever. Honestly, the design is forgiving. Even if your cuts are a little off, the wood’s rugged look hides small mistakes. That’s the beauty of reclaimed wood.
One weird detail: I accidentally left a rusted nail head in one leg. At first I tried to pull it, but it broke off flush. So I left it. Now it’s like a little metal accent. My partner thinks it’s ugly. I think it’s rustic character. You decide.
Finishing Touches on a Shoestring Budget
After assembly we applied a cheap linseed oil finish. It cost about four dollars for a small bottle, and it goes a long way. Just rub it on with a cloth, let it soak in, wipe the excess. It brings out the warm brown tones of the wood without a plasticky shine. If you want color, you can use a stain, but honestly, the natural aged look of reclaimed pallet wood is already beautiful. We skipped the stain. I also added little felt pads on the bottom of the legs so the stand doesn’t scratch the floor. Dollar store felt pads, three sets for a buck. Fancy? No. Effective? Yes.
Tips to Find Free or Cheap Reclaimed Wood
If you don’t have a pile of pallets sitting around, try these places:
- Your local hardware store’s receiving area, just ask if they have broken pallets
- Facebook Marketplace or Craigslist, people give away pallets constantly
- Construction sites, but only if you get permission, don’t just grab.
I once found a stack of old fence boards on the curb during a neighborhood cleanup. Those were even better than pallet wood, they were already weathered and smooth. Point is, keep your eyes open. Wood is everywhere if you look.
How This Plant Stand Fits Any Home Decor Style
Ok so maybe your home is all modern white and glass. A rustic reclaimed wood stand might seem like a clash. But actually, the contrast works. The raw wood softens a sleek room. It adds warmth and a little bit of nature indoors. And if you prefer a more polished look, you can paint the stand. A dark matte black or a soft sage green would look great. But I like the wood as is. It matches my slightly messy, lived-in decorating style. Not everything needs to be perfect. A little sawdust never hurt anyone.
So if you’re on a tight budget but still want a cute, functional project for your home, give this a try. It’s cheap, it’s fast, and you’ll feel proud every time you water that plant. And hey, I’m happy to share the exact measurements and sketch. Just ask me for plans! Drop a comment or message, and I’ll send them over. Happy building!
#reclaimedwood #DIYplantstand #woodworkingprojects #homedecor #reclaimedwoodideas